Modifying node settings
Use the Control Panel to Manage Nodes utility to change some of the settings from when you initially configured the node.
To modify node settings:
-
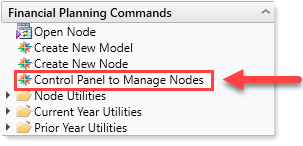
In the Fin Plan Admin or Fin Plan task pane, in the Financial Planning Commands section, click Control Panel to Manage Nodes.
-
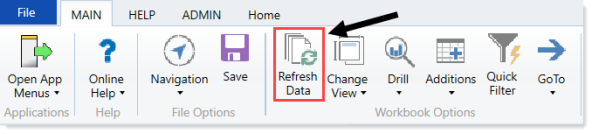
In the Main ribbon tab, in the Workbook Options group, click Refresh Data.
-
In the Refresh Variables dialog, in the Choose a Model field, click Choose Value.
- In the Choose Value dialog, select a model, and click OK.
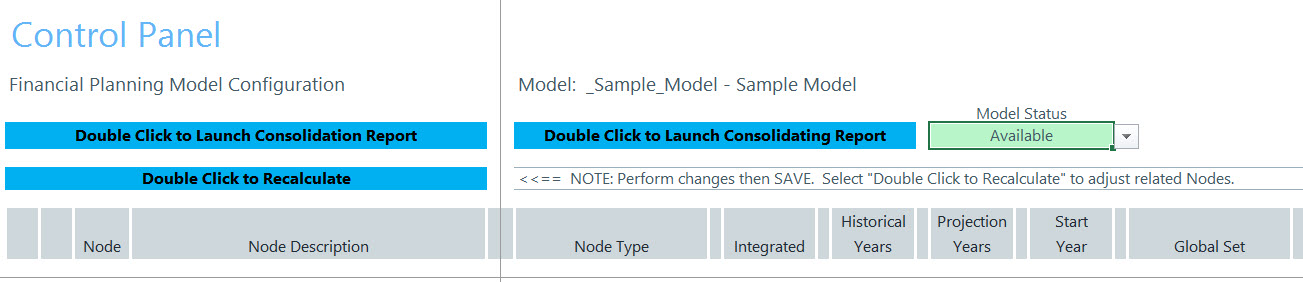
- The Model Status drop-down displays the current status of the model. To change it, click the drop-down, and select a new status.
-
In the Control Panel, for each node listed, you may adjust the following:
Column Description Integrated Select whether or not the node is included in the financial statement for the model. Historical Years Select the number of historical years to track within the node. Projection Years Select the number of future years to project in the node. Start Year Select the start year for the model contained in the node. Global Set Select the set of assumptions to use when calculating projections in this node. If the driver you want does not exist, you can create it. See Creating custom drivers. Expense 1 Select the volume drivers for this node to calculate variable expenses in the expense nodes. Expense 2 Select the volume drivers for this node to calculate variable expenses in the expense nodes. -
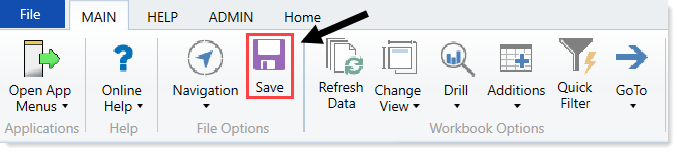
In the Main ribbon tab, click Save.
-
At the top of the workbook, click Double Click to Recalculate.

- Process the plan files to propagate the changes. For more information, see Processing plan files .
